

Short Link Management
Create branded short links and track every click.
Short Link Management →A walkthrough of UseClick's install flow: copy one script tag, hand it to a developer if you need to, and watch your first pageview confirmed in real time, no configuration decisions, no waiting.
The first time you add a website to UseClick, there's nothing to look at yet. Instead of an empty chart, the dashboard shows a two-step install card: copy the tracking snippet, then confirm it's working. This page walks through exactly what that flow does and what each step means.
You don't have to guess which script goes where. The install card gives you the same one-line snippet plus instructions written for your specific platform, whether that's a plain HTML site, WordPress, Shopify, Webflow, or a Next.js app. If someone else owns the codebase, you can hand the whole thing off with one click instead of retyping instructions into a message.
Once the script is live on your site, you don't have to sit there refreshing the dashboard. A "Check now" button polls for your first pageview, and the moment one arrives, a banner tells you where it came from and what browser it used, so you know tracking is actually working before you move on.
Every new website starts in the same place: an install card that replaces the empty analytics chart until real traffic starts flowing in.
One script tag, generated for your site. Paste it into your page's head (or the platform-specific equivalent) and it starts sending data as soon as it loads.
Use the built-in check to confirm the script is live, instead of guessing whether the paste worked or waiting for a report to fill in.
The install card doesn't just hand you a generic script tag, it gives you the steps for where that tag actually needs to go, based on how your site is built.
Paste the snippet directly into the head of your HTML file, on every page you want to track.
Add the snippet through your theme's header, a header and footer plugin, or your site's custom code settings, wherever your theme lets you inject markup site-wide.
Drop the snippet into your theme.liquid file so it loads across your storefront, from the homepage to checkout.
Add the snippet in your project's custom code settings so it's included in the head of every published page.
Add the snippet to your root layout so it loads once and covers every route in your app, with no per-page setup required.
You don't need to be able to touch the site's code to get analytics running. A single button on the install card opens an email with the snippet and the platform-specific instructions already included, ready to send to whoever manages your site.
Instead of screenshotting the install card or retyping instructions into a chat, the mailto link carries the exact snippet and steps your developer needs.
Because the instructions are already platform-specific, there's no follow-up question about where the script goes, just where to paste it.
Once the snippet is live, whether you added it yourself or a developer did, you need to know it's actually sending data. Two things confirm that.
Instead of refreshing the dashboard and hoping, click Check now and it polls your site for a first pageview on demand. You get an answer immediately instead of waiting on a scheduled report.
The moment your first pageview lands, a banner replaces the install card and tells you the visitor's country and browser. That specific detail, not just a generic success message, is what confirms the script is capturing real traffic and not just loading.
The script you just installed is built to report traffic, not to identify who's visiting.
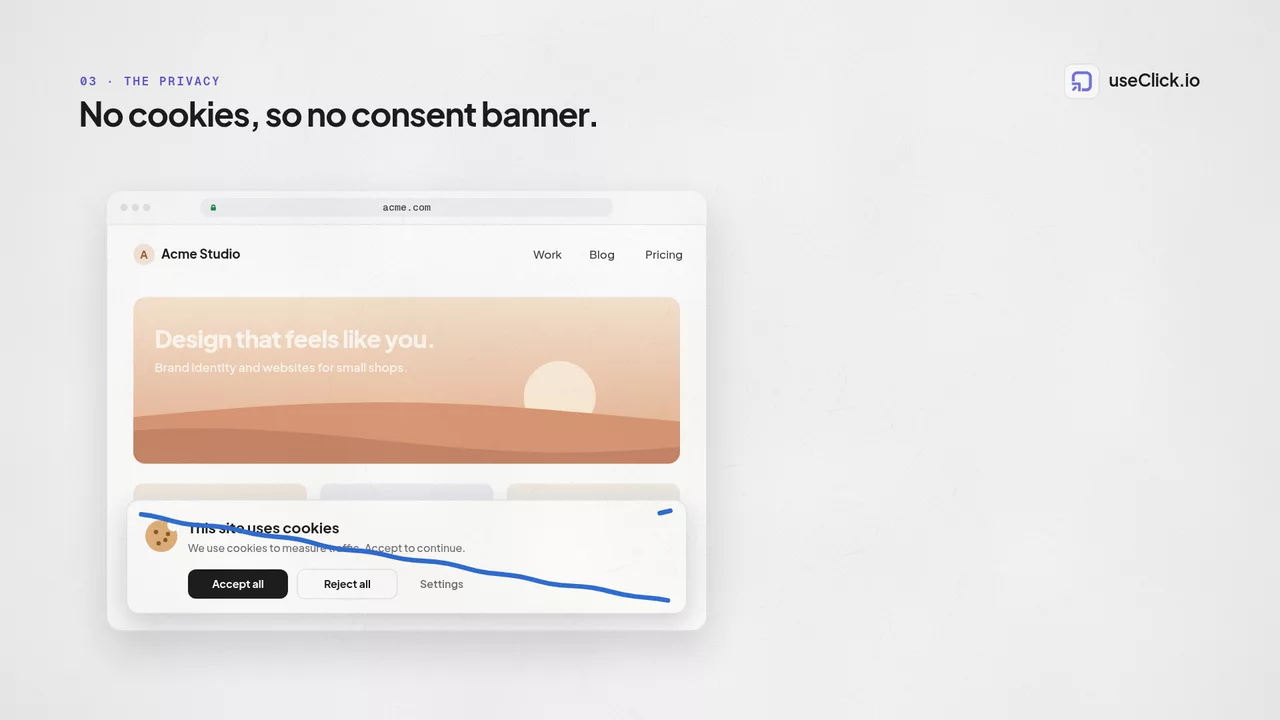
The script never sets a cookie on the visitor's device, so there's nothing to ask consent for.
IP addresses are never written to the database. Visitors aren't tracked by address, before or after the pageview is recorded.
Location data stops at the country. No city, no region, no precise coordinates are ever stored.
The full browser user-agent string is never stored. Only the parsed browser, device, and OS are kept.
For the complete picture of what's tracked once data starts flowing in, see website analytics.
Most analytics setups ask you to make decisions before you've seen a single data point: which consent mode to run, which property to link, which cookie banner to configure. This one doesn't.
Because the script never sets cookies or stores IP addresses, there's no consent flow to build before you can start tracking.
The website you add in UseClick is the property. There's no separate analytics account to create or connect.
The Check now button and first-pageview banner mean you find out the install worked during setup, not days later when someone finally looks at a report.
From adding your site to watching real traffic land, in four steps.
Add your website's domain and UseClick generates its tracking snippet.
Copy the script into your site's head, or hand it off to a developer for platform-specific install.
Poll for your first pageview on demand instead of waiting on a scheduled report.
The banner confirms your first visitor's country and browser, then your dashboard starts filling in.
Once your first pageview is confirmed, the install card disappears and your dashboard starts filling in with real traffic: page views, visitors, sources, devices, and geography.
This tracks visits directly on your website. If you're also tracking clicks on shortened links wherever they're shared, that's link analytics, a separate but complementary view.
Instead of an empty chart, you see a two-step install card: copy the tracking snippet, then verify it's working. Your dashboard stays in this setup state until your first pageview is confirmed, at which point it switches over to showing real traffic data.
No. Setup is one script tag, or the platform-specific equivalent for it, with install instructions provided for plain HTML, WordPress, Shopify, Webflow, and Next.js. There's nothing else to configure before tracking starts.
The install card includes a mailto link that opens an email with the tracking snippet and its platform-specific instructions already included, so you can send it straight to whoever manages your site instead of retyping the steps yourself.
Click "Check now" on the install card and it polls your site for a first pageview on demand, so you get an immediate answer instead of refreshing the dashboard and waiting.
Once your first pageview lands, a banner replaces the install card and reports the visitor's country and browser, confirming the script is capturing real traffic rather than just loading.
No. The script never sets a cookie and never stores IP addresses. Location data stops at the country level, and only the parsed browser, device, and OS are kept, never the full user-agent string.
The install card provides tailored instructions for plain HTML sites, WordPress, Shopify, Webflow, and Next.js, in addition to the generic script tag that works anywhere custom code can be added.
A shortener, a bio tool and an analytics script each see one piece of the story. useClick connects all three, so every visit comes with where it started and where it ended.
Create branded short links and track every click.
Short Link Management →One page for all your links, with per-link analytics built in.
Link in Bio →Cookie-free traffic, regions, and top pages, no consent banner.
Website Analytics →UseClick.io makes link management effortless. Create branded short links that are clean, memorable, and built to strengthen your brand identity.